Download and check file advanced-potion-making:
┌──(kali㉿kali)-[~/Desktop/pico/advanced-potion-making]
└─$ file advanced-potion-making
advanced-potion-making: data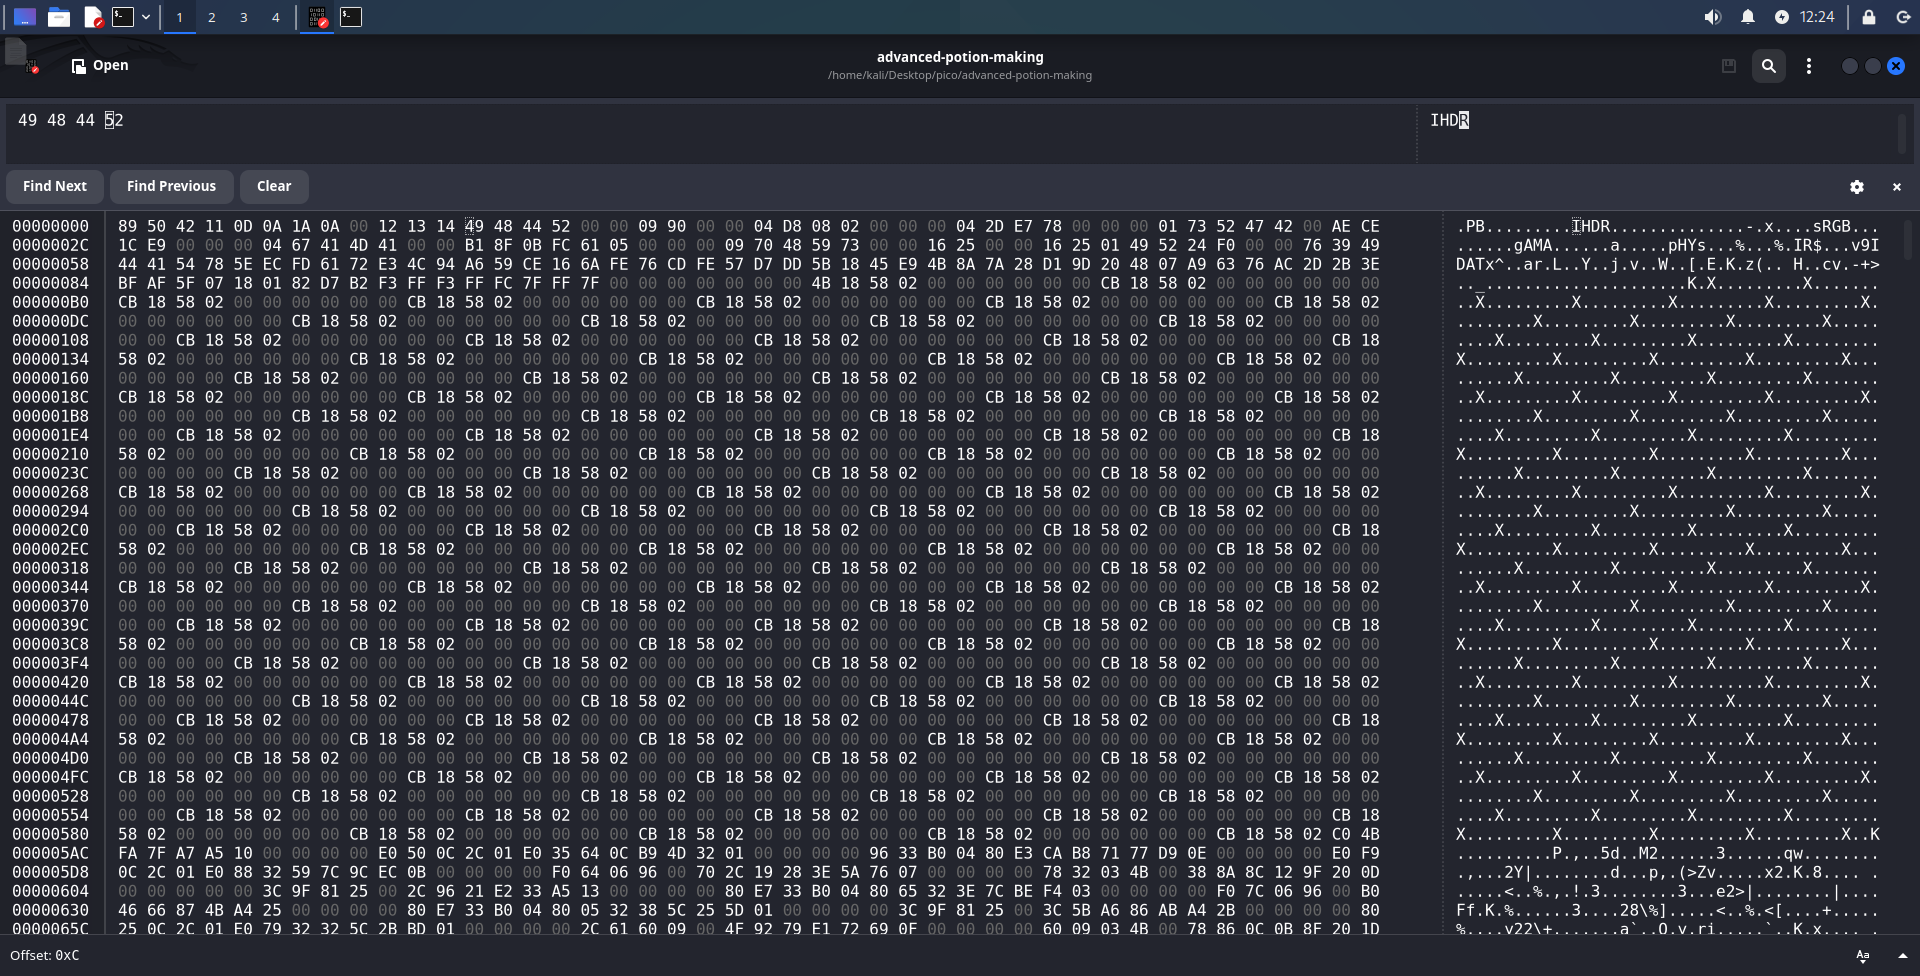
Open the file in ghex and you will immediately see IHDR, sRGB, gAMA, pHYs, IDAT chunks, which indicates that it is a PNG, but some bytes have been changed.
Let’s start by checking whether the PNG signature has been broken. More sigs here: (File sigs)
89 50 4E 47 0D 0A 1A 0A
In file:

Replace and try to open Eye of Gnome eog advanced-potion-making

┌──(kali㉿kali)-[~/Desktop/pico/advanced-potion-making]
└─$ pngcheck -v advanced-potion-making
zlib warning:  different version (expected 1.2.13, using 1.3.1)

File: advanced-potion-making (30372 bytes)
  chunk IHDR at offset 0x0000c, length 1184532:  EOF while reading data
ERRORS DETECTED in advanced-potion-making
┌──(kali㉿kali)-[~/Desktop/pico/advanced-potion-making]
└─$ identify advanced-potion-making
identify: IHDR: too long `advanced-potion-making' @ error/png.c/MagickPNGErrorHandler/1491.
It is clear from above output that the problem lies in the bytes that indicate the length of the IHDR chunk.
TIP
You can read more about the structure of the IHDR chunk and CRC calculation in my cheat sheet: click
We’ll focus on IHDR-length only.
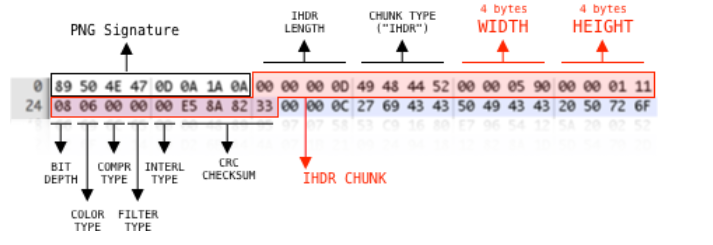
I googled “Invalid IHDR length” and found on Stack Overflow an article about IHDR-chunk structure (I took the image from there). As it can be seen from image, 4 bytes IHDR come right after PNG-signature. IHDR length is fixed and always equal to 13 bytes!
In hex 13 is 0D. In file it looks like:

13(dec) → 0D(hex) → 00 00 00 0D

┌──(kali㉿kali)-[~/Desktop/pico/advanced-potion-making]
└─$ file advanced-potion-making
advanced-potion-making: PNG image data, 2448 x 1240, 8-bit/color RGB, non-interlaced
To open this image, you need to add its format to the name:
mv advanced-potion-making advanced-potion-making.png
eog advanced-potion-making.png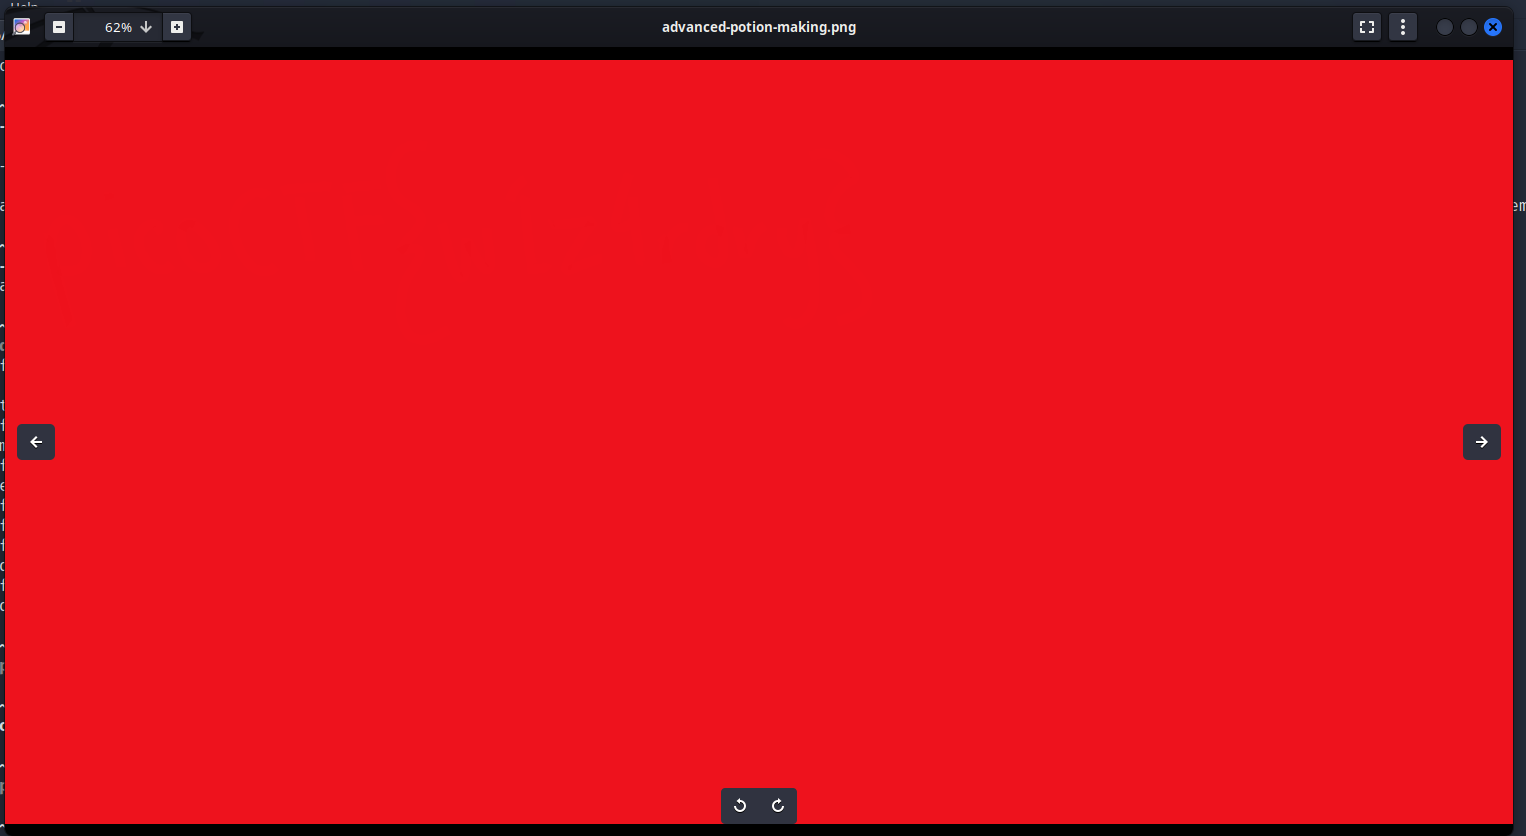
After searching for various Photo Forensics tools, I settled on this tool. I tried various settings suggested here and settled on Error Level Analysis:
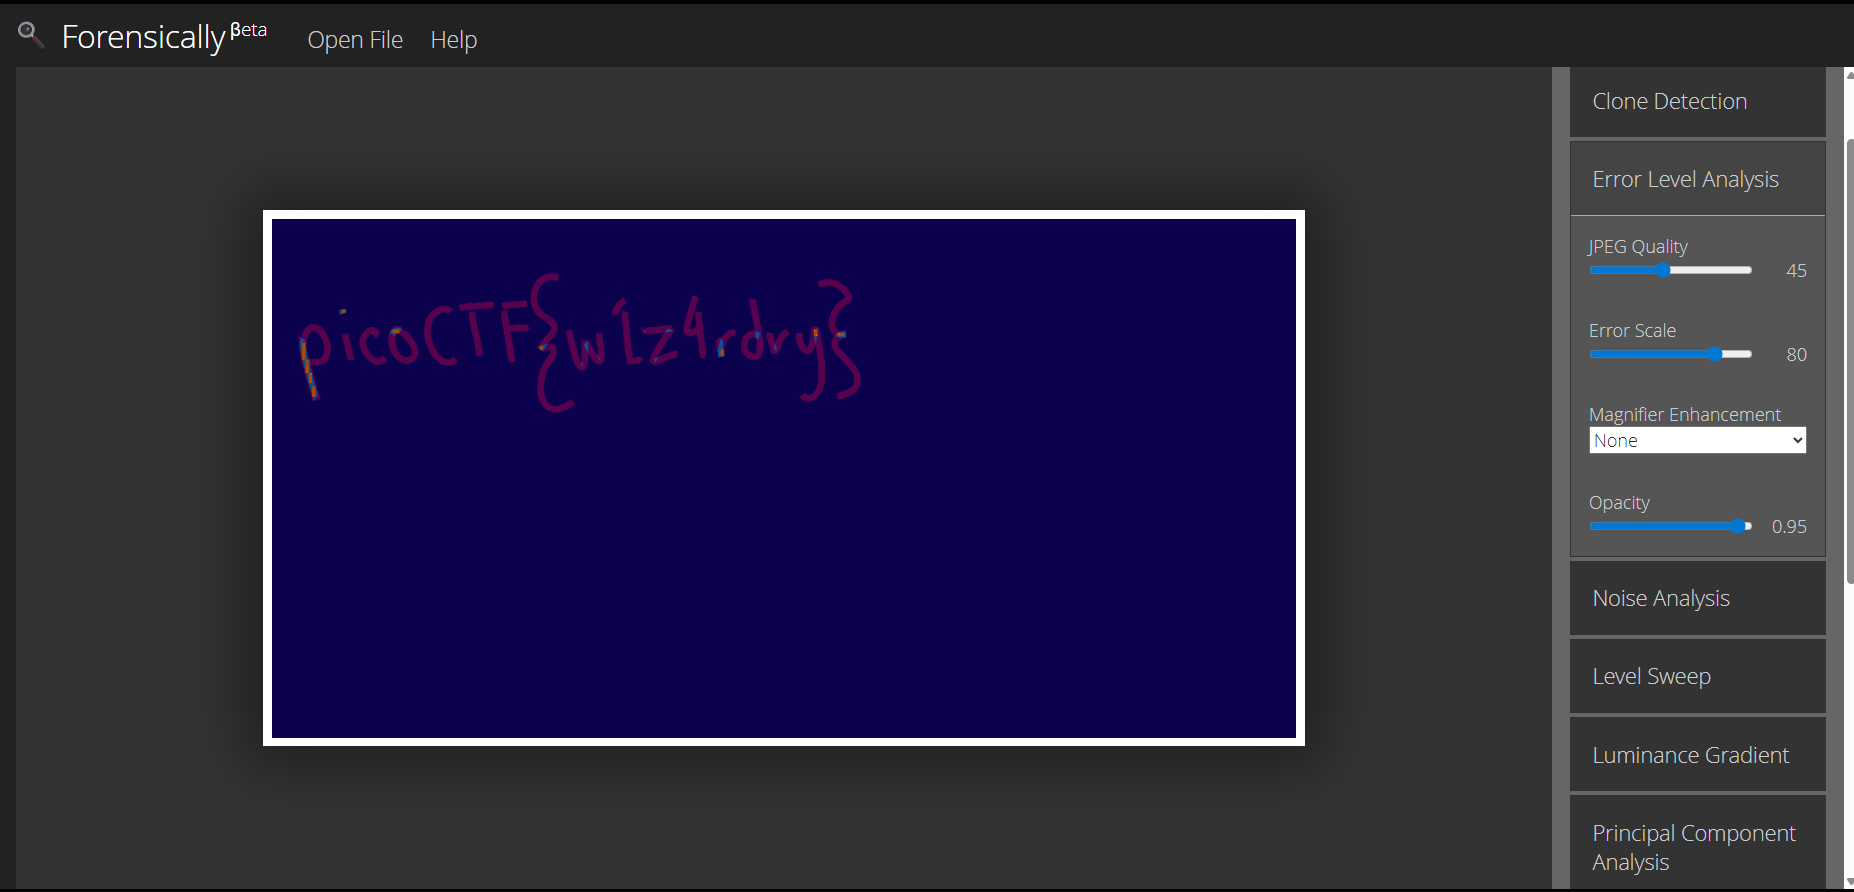
picoCTF{w1z4rdry}